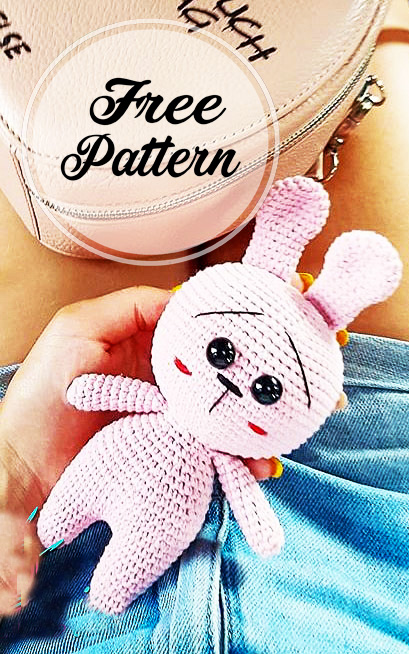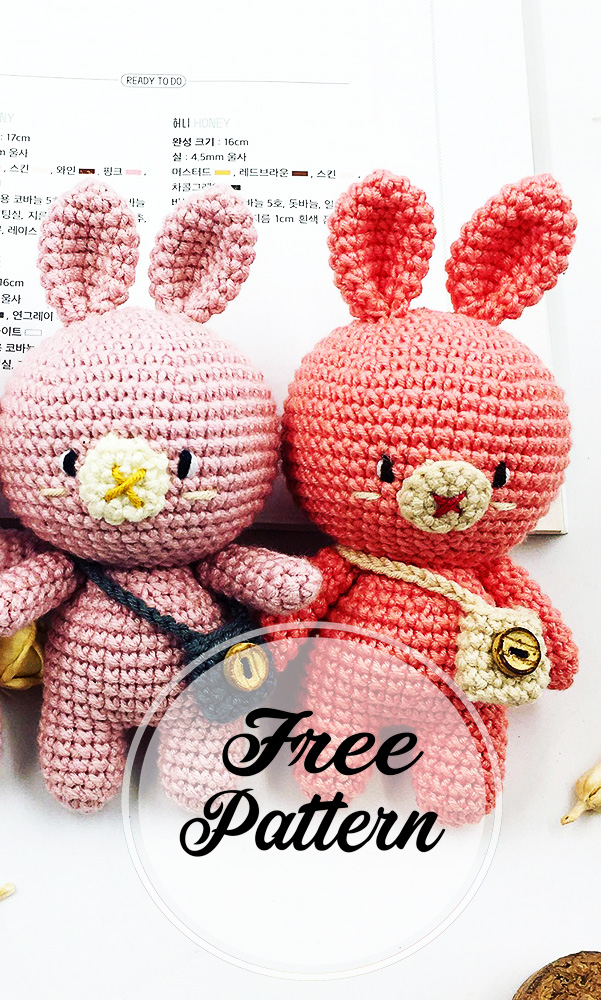
Hello dear friends. Today I’m going to share a cute amigurumi bunny design. The crochet bunny pattern is completely free. I have to say this first. You can also download the pdf file if you want. This way, you can look at the details of the pattern more easily. The crochet bunny pattern is quite simple to make. Therefore, beginners can make this amigurumi pattern without any hesitation. The finished rabbit measures 17 cm. So a medium sized amigurumi. Very large amigurumis are no longer preferred as before. Small amigurumi designs have become very popular lately.
In particular, children and adults have started to use this type of crochet doll amigurumi patterns for decoration and hobby purposes. Making amigurumi has been a favorite hobby of many women lately. I share with you this beautiful amigurumi bunny pattern. Now let’s crochet the amigurumi bunny pattern step by step.
Handmade products can be used as souvenirs or as decorative products in your houses and can be placed on your coffee tables and units. If you want to look at different ideas in order to create quite beautiful and stylish models, in this article, we will help you with some information about making amigurumi rabbit. In our previous article we will talk about knitting slippers model, in this article we will give information about the amigurumi rabbit. First, let’s include what are the necessary materials for this process.
Abbreviations:
R: round
mr = magic ring
sc = single crochet
inc = increase (2 sc in the next stitch)
dec = decrease (join the next 2 stitches into 1)
sl st = slip stitch
st = stitch
ch = chain
F.O = finish off
( ) = number of stitches you should have at the end of the round/row
( ) x 6 = repeat whatever is between the brackets the number of times stated
To crochet this bunny amigurumi you need:
Yarn: Pink and black color yarn (You also can use any your favorite color) and red yarn for embroidering cheeks.
Hook: 2.5mm Crochet hook
Ribbon: One ribbon bow if you want
Fiberfill for stuffing
Sewing needle and scissors
Cute Bunny amigurumi
Legs (make 2)
Leg 1
Start with pink color yarn
R 1: mr with 6 st (6)
R 2: (1 sc, inc) x 3 (9)
R 3: (2 sc, inc) x 3 (12)
R 4-5: 12 sc (2 rounds) (12)
R 6: (3 sc, inc) x 3 (15)
R 7-8: 15 sc ( 2 rounds) (15)
Leg 2
Make the other leg, don’t cut the yarn. Continue to crochet 3 ch and join leg 1 with sl st.
Continue to crochet the body using the stitches of both legs.
Body
Start with pink color yarn
R 9: 15 sc (leg 1), 3 sc (3 stitch of chain), 15 sc (leg 2), 3 sc (3 stitch in other side of chain). (36)
R 10-12 : 36 sc (3 rounds) (36)
R 13: (5 sc, inc) x 6 (42)
R 14-16: 42 sc ( 3 rounds) (42)
R 17: (5 sc, dec) x 6 (36)
R 18: 36 sc (36)
R 19: (4 sc, dec) x 6 (30)
R 20: 30 sc (30)
R 21: ( 3 sc, dec) x 6 (24)
R 22: 24 sc (24)
R 23: ( 2 sc, dec) x 6 (18)
Crochet some sc. The Round 24 must begin in the middle of the body. Continue to crochet the head.
Head
Start with pink yarn color
R 24: 3 sc, 4 sc together with sc of the 1st hand, 5 sc, 4 sc together with sc of the 2nd hand, 2 sc (18)
R 25 : 18 sc (18)
R 26: inc x 18 (36)
R 27: (5 sc, inc) x 6 (42)
R 28: (6 sc, inc) x 6 (48)
R 29: (7 sc, inc) x 6 (54)
R 30: (8 sc, inc) x 6 (60)
R 31-42: 60 sc (12 rounds) (60)
R 43: (8 sc, dec) x 6 (54)
R 44: (7 sc, dec) x 6c (48)
R 45: (6 sc, dec) x 6 (42)
R 46: (5 sc, dec) x 6 (36)
R 47: (4 sc, dec) x 6 (30)
R 48: (3 sc, dec) x 6 (24)
R 49: (2 sc, dec) x 6 (18)
R 50: (1 sc, dec) x 6 (12)
R 51: dec x 6 (6)
Sl st. Stuff with fiberfill.
Cut the yarn, leaving a long tail for sewing
Note: Insert safety eyes (or normal eyes) between round 36 and round 37 at the distance of 3-4 stitches in between the eyes.
Arms (make 2)
Start with pink color yarn
R 1: mr with 6 st (6)
R 2: (1 sc, inc) x 3 (9)
R 3-12: 9 sc (10 rounds) (9)
Sl st. Stuff with some fiberfill. Fold top arm flat and 4 sc through both sides across and cut the yarn, leaving a long tail for sewing.
Ears (make 2)
Start with pink color yarn
R 1: mr with 6 st (6)
R 2: inc x 6 (12)
R 3: (1 sc, inc) x 6 (18)
R 4-7: 18 sc (4 rounds) (18)
R 8: (1 sc, dec) x 6 (12)
R 9-13: 12 sc (5 rounds) (12)
Note: Not to stuff with fiberfill.
Like arms, you fold top of ear flat and 6 sc through both sides across. Fo, cut the yarn and leaving a long tail for sewing.
Assembly:
– Embroider a nose and eye brows with black yarn (like picture). The nose should be centered between the eyes.
– Sew ears to the head.
– Sew the arms to the body
– Embroider cheeks with red yarn color.
So, your cute bunny with pink color yarn finished. You can use ribbon to make a bow for your bunny. Does it make so easy, it isn’t?
Pattern by: @knitted_toy_blg
Picture: @knitted_toy_blg and @ketti.toys
Translated by: Amigurumiforum.com


